Thursday, May 30, 2013

Crepe Flowers... Oh so pretty and easy to make!

My life for the past month has been filled with crafts...for my upcoming baby shower! Crepe flowers have been posted all over pinterest and I am making some for my babyshower. You're probably wondering why I'm doing my own decor? I'm picky and don't want store bought decorations plus if you want something done a certain way, you're better off doing it yourself or hiring someone with the know-how that you trust.While I didn't see any video tutorials, I decided to put my own up for those who rather watch instead of read how the flowers are made. Below are two flower tutorials along with a step by step picture tutorial for the crepe flowers because those have a few more steps. These will be apart of a bigger project that I'll post later.

Crepe rose flowers by Icing Designs. Go to their website for step-by-step instructions with pictures or click below to see my little 5 min. video of how-to:


Crepe flowers by Under a Blue Moon. Go to their website for a step-by-step tutorial. Theirs uses glitter for the edge of the petals. I made mine plain because I have to make a bunch and there are some time restraints for my project. This video is 8 minutes long. Scroll below for my step-by-step w/pictures.


Step by step:
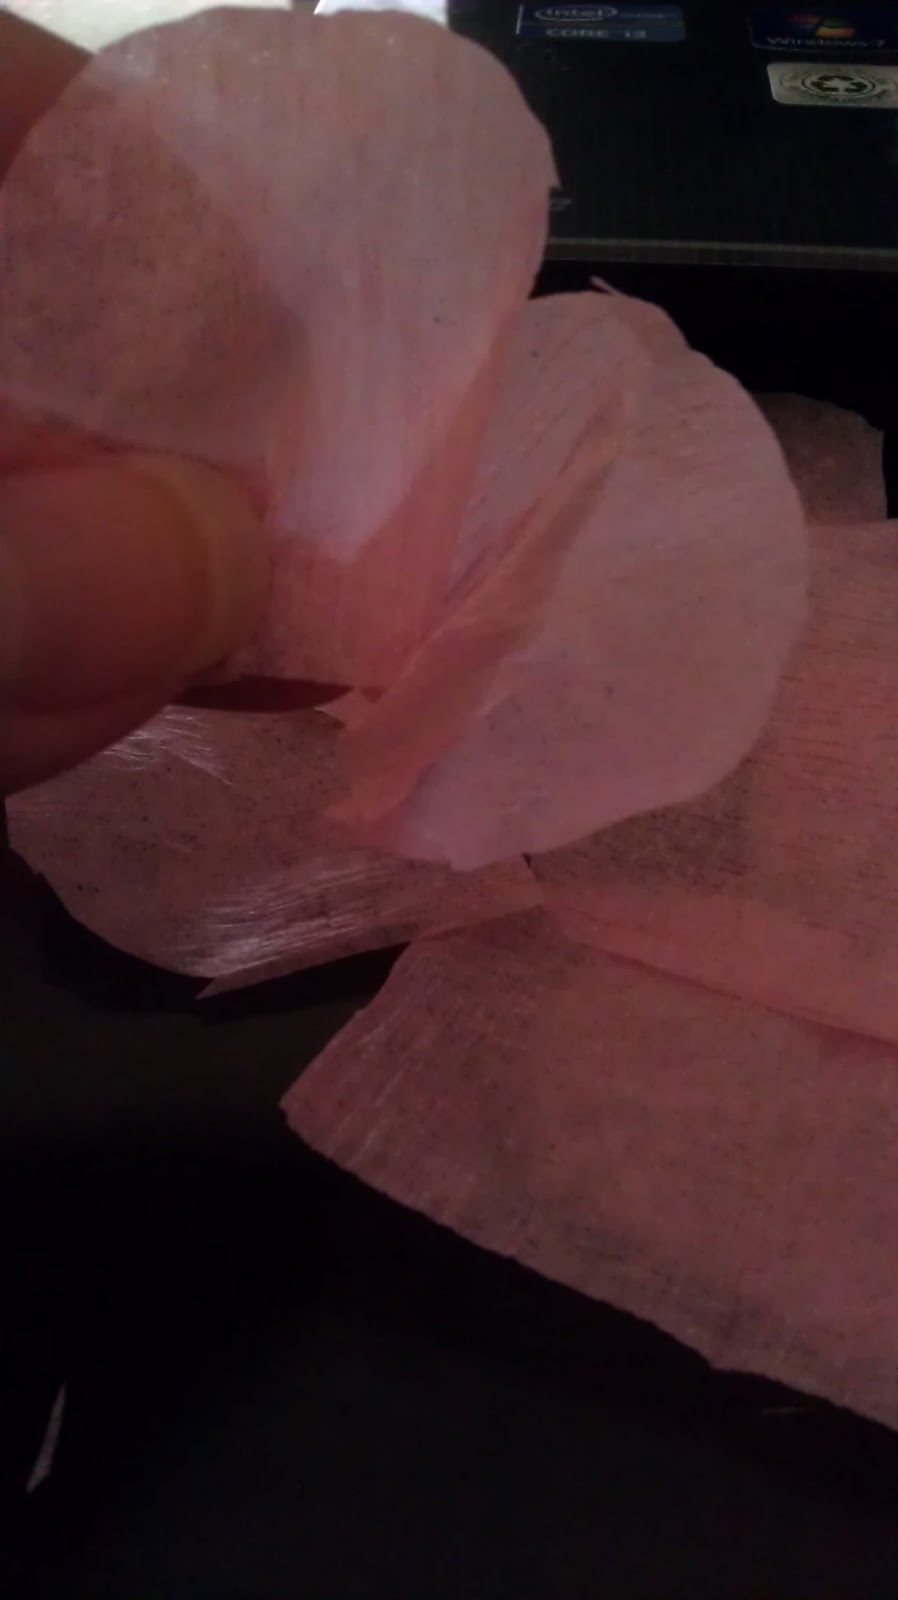
 Cut a sheet of crepe paper, no more than 27 inches long. You want to be able to cut it without the folds being too thick. Fold in half over and over again.


You'll end up with a fold that is 1 inch thick.  Scallop one edge so that it is round on one side.


Unfold your paper and cut so that you have two scallops for each petal.


Cut a piece of paper into 2x2 in. squares and then cut those into circles.
 Put the circle aside and fold your pieces so they look like this. They don't have to be perfect, you just want them to look like hearts or something close to that. After you make at least 8, start gluing the outer petals to the paper circle. Glue them so they are more to the edge than the center:


Next you want to do the inner layer of petals. Glue the inner layer close to the middle of the paper circle like this:


Finish it up with a pretty center of your choice. I used buttons for mine. Pretty simple huh?


Thursday, May 16, 2013

Pinterest Household Cleaning Review: How to clean your washing machine

There's so many things that need cleaning around our house and one of the items we tend to not clean is the washing machine. I never knew that they needed to be clean until my HE washing machine started to smell like mold. I started leaving the door open after every use but the smell wouldn't go away and it was started to affect the clothes...gross!

 So I turned to Pinterest to see if there were any "how-to" guides that were both economical and natural...or at least as natural as you can get with bleach. I found a post by OneGoodThing which had tutorials for both top load washers and front load washers. I have an HE Whirlpool Duet front load washing machine (pictured) that is about 2 years old. Before last night I have never cleaned it before so I think my washer was a good candidate to try this eco-friendly cleaning solution.

Blogger, Jill recommends you do this once a month to keep your washer in tip top shape.
Front Load instructions:
Turn washer on and set water to "hot." If you have a "clean washer" option then use that.
Put 2 cups vinegar into the detergent cup and let the washer go through a cycle.  I used Heinz cleaning vinegar which is a 6% solution. Regular vinegar is 5% and I'm sure works just as well. When done, run another cycle but this time add 2 cups of bleach instead of the vinegar.
When done, you can do another cycle of just water to remove any leftover dirt still in the machine.
Wipe down the rubber lip on the inside to remove any mold that might be there.
Remove the detergent cups and let those dry out completely.

Your washing machine should be smelling fresh now.
Recommended that you do a full cleaning once a month and clean the rubber lip and let the detergent cups air dry after every use. Also, do leave the door open after every wash to allow the inside to completely dry.

For more detail and other "how to's" check out OneGoodThing and let me know if you find anything you've tried at home that you like.

Now to figure out how to eco-clean my dishwasher. Those dishwasher cleaners are expensive!

Wednesday, May 15, 2013

Beachy Waves: how to guide leaves little in the result department

I love Pinterest and have found myself spending hours on it just looking up DIY crafts and neat ideas that I can do at home. The site has opened up new avenues for me such as ideas for my baby room (which I will post before and after pics later), neat ways to clean house while keeping eco-friendly, and beauty tips I like. A few months ago I found this neat little tutorial: How to do Beachy Waves in less than 5 minutes. I thought to myself, hmm... I can do that! I pinned it and saved it for later. Well I decided to test Beachy Waves today and I was not impressed with my results. Was I doing something wrong? Don't think so because it is super simple: divide hair into two parts, twist and then run hot hair straightener through it several times. Sounds simple enough for quick results. My hair is long, thick, and naturally wavy so you'd think it would take to the beachy waves but no. I tried it several different ways. I split my hair into two parts and followed the directions on the website and ran the hair straightener through each side more than 5 times. Didn't come out as expected. Maybe my hair is too thick? Then I divided my hair into several sections instead of just two and tried it again that way. Still lacking a beachy wave as you can see in the picture. The problem with this tutorial is that on the website, there is no picture of what your results should look like when done properly. So how do you know if you are doing it right and if you are actually getting the results you should be getting? I guess you don't. Instead, I recommend you use product for a beachy wave look. I use Paul Mitchell Texturizing Sea Spray when I don't want to dry my hair after a shower. If you try the above beachy waves tutorial, let me know how it comes out and post a pic of your results. Looks like I got a bad haircut. Didn't come out nice at all.

Wednesday, February 20, 2013

10 Things I didn't know about being pregnant until I was pregnant!

I didn't realize it has been nearly 3 years since I posted anything here but I guess that's the Gemini in me, I'm all about it one day and then completely about something else the next day. Now that I have more time on my hands I think I will contribute more to this blog and stop being such a lazy butt. So to start on this all over again I give you... 10 Things I didn't know about being pregnant until I was pregnant! Now it is a known fact that most women experience certain side effects during pregnancy and the ones we all know about before we get pregnant are: nausea and vomiting in your first trimester which usually goes away in your second trimester, moodiness (I think this throughout the whole thing), and contractions when it's time to pop out that baby! But there was so much more I didn't know and I know I'm probably missing a lot on this list that you know but here's what I've learned so far as I go through this strange transition to motherhood: 1. As your belly grows it stretches and it actually feels like its stretching! Sometimes you get little pains in your sides during the second trimester which I've read on several pregnancy apps that it is normal. 2. You start to feel the baby sooner than you think and it feels weird! At 15 weeks, I'm starting to feel a "rolling" sensation in my belly. It isn't something I feel all the time but every once in a while it catches me off guard. 3. Your significant other should play a bigger role in your pregnancy than you think but at the same time, kick him out the house so you don't kill each other! While It's been great to have Peter do little things around the house for me which included helping me with household chores that I couldn't do during my first trimester nausea sessions, I had to make him go play golf after I started getting better. It's nice having him around and it's nice to know he'll give me back massages when I need them but it's even nicer to have a Saturday to myself where we can enjoy a little bit of time apart. I can do my shopping and browsing like a normal woman and he can hang out with the guys for an afternoon, then later on we can talk about our day apart over hot chocolate while we settle in for a night of watching Lost on Netflix. 4. Your only pregnancy pap-smear is the best pap smear experience you'll ever have because it's super fast and it's over before you even feel anything. Why can't they all be like this? 5. Your teeth are more susceptible to gingivitis and gum diseases while your pregnant. Your gums are more sensitive and you may experience bleeding. I've read that you have to take extra care of your teeth by brushing at least twice a day (I hope we all do this), flossing daily, and rinsing with a mouthwash. A few weeks ago my gums hurt after flossing but since I've been doing it more often they're feeling better. 6. Everyday activities are like an extreme quad workout at the end of the day. Just yesterday I cleaned all three bathrooms in my house which included cleaning the toilet, sweeping and moping, and cleaning the sink and counters. Not bad, in fact I didn't even break a sweat but later on that night when I woke up to go to one of my many potty breaks it felt like I worked out my legs to the point I could hardly walk! Up until yesterday I've been doing light cardio including yoga for 4 days a week at 30-50 minutes each day and I always felt fine but now that my body is changing even more, I guess I'm going to feel it also. 7. My super sensitive and ever growing breasts are still sensitive! Do they ever stop or does it continue throughout the whole pregnancy? I can't even fit into my bras anymore and I'm contemplating buying new ones. Sports bras are awesome to sleep in because they hold them together and keep them from hurting as much when you get up in the morning. 8. You'll start to get contractions weeks before your due date but keep the count because you're not ready yet. This is bothersome for a new mom-to-be because I read you have to keep your mind off it and do other things while your body prepares to deliver...in advance. 9. Even if you aren't showing, you shouldn't lift anything heavy. Now I do know that pregnant women shouldn't lift heavy things but I thought that only applied to you after your belly starts to grow. Learned the hard way from someone else who semi-lifted their 60 lb. dog and had to go to the emergency after because she said it felt like she tore something. Luckily the doctors didn't find anything wrong but let that be a lesson to us to keep the lifting light at all times. 10. The unborn baby generates its own kind of waste inside you. Sounds gross but it makes sense since the baby is eating the nutrients provided to it. Has to end up somewhere, right? So that's my list for things I didn't know about being pregnant until I was pregnant. Feel free to share!